


Buttercream


Buttercream
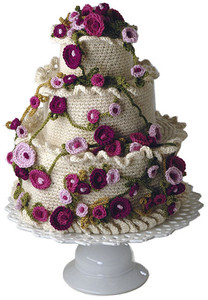
Crocheted Ultra® Alpaca creates a sumptuous wedding cake with buttercream frosting. Not merely decorative, the “layers” may be used for storing and protecting china dishware.
Size
Approximately 10 1/2” wide across largest layer x 12” high
Materials
3 Hanks Berroco Ultra Alpaca (100 grs), #6201 Winter White (MC) and 1 hank each #6275 Pea Soup (A), #6251 Green Olive (B), #6232 Pastel Pink (C), #6233 Rose Spice (D) and #6235 Fuchsia (E)
Crochet hooks, sizes 3.50 mm (E) and 4.50 mm (G)
Tapestry needle
Safety pin for marker
Sheet of heavy poster board or thin cardboard
Pencil compass
Pencil and ruler
Masking tape
Sharp scissors
Gauge
16 sc’s = 4”; 18 rnds = 4” in sc with size 4.50 mm (G) hook
TO SAVE TIME, TAKE TIME TO CHECK GAUGE
Bottom Layer
Top: With larger crochet hook, using MC, ch 6. Join with a sl st to form a ring.
Rnd 1: Ch 1, work 9 sc’s in ring. Mark last st with pin for end of rnd and move marker up as you work. Working in sc, work in a spiral, increasing 6 sc’s on every rnd. Do not work incs directly over those of previous rnds. Work until you have completed 21 rnds more and there are 135 sc’s in last rnd. Join with a sl st in st marked with pin. Piece should measure approximately 10 1/2” across.
Sides: Next Rnd: Ch 1, work 1 sc in each sc around, join with a sl st in ch-1. Using tapestry needle and 1 strand of A, work running sts through last rnd worked to mark top edge of sides. Rep Next Rnd until piece measures 4 1/2” above marked rnd.
Lower Edging: Ch 1, sc in next sc, * ch 6, join with a sl st in 3rd row from bottom 2 sts before last sc; work 8 sc’s in ch-6 space, skip 1 sc, sc in next sc, rep from * around lower edge, join with a sl st in ch-1. Fasten off.
Upper Edging: With larger crochet hook, join MC with a sl st in any sc of marked rnd.
Rnd 1: Ch 1, * sc in each of the next 2 sc’s, ch 6, skip 3 sc’s, rep from * around, join with a sl st in ch-1.
Rnd 2: Ch 1, * sc in each of the next 2 sc’s, work 7 sc’s in next ch-6 space, rep from * around, join with a sl st in ch-1. Fasten off. Remove strand of A used to mark rnd.
Middle Layer
Top: With larger crochet hook, using MC, ch 5. Join with a sl st to form a ring.
Rnd 1: Ch 1, work 6 sc’s in ring. Mark last st with pin for end of rnd and move marker up as you work. Working in sc, work in a spiral, increasing 6 sc’s on every rnd. Do not work incs directly over those of previous rnd. Work until you have completed 14 rnds more and there are 90 sc’s in last rnd. Join with a sl st in st marked with pin. Piece should measure approximately 6 1/2” across.
Sides: Work same as Bottom Layer until piece measures 4” above marked rnd. Fasten off. Omit lower edging. Work upper edging same as Bottom Layer.
Top Layer
Top: With larger crochet hook, using MC, ch 6. Join with a sl st to form a ring.
Rnd 1: Ch 1, work 8 sc’s in ring. Mark last st with pin for end of rnd and move marker up as you work. Working in sc, work in a spiral, increasing 4 sc’s on every rnd. Do not work incs directly over those of previous rnd. Work until you have completed 10 rnds more and there are 48 sc’s in last rnd. Join with a sl st in st marked with pin. Piece should measure approximately 4 1/2” across.
Sides: Work same as Bottom Layer until piece measures 3” above marked rnd. Fasten off. Omit lower edging.
Upper Edging: With larger crochet hook, join MC with a sl st in any sc of marked rnd.
Rnd 1: Ch 1, * sc in each of the next 2 sc’s, ch 4, skip 2 sc’s, rep from * around, join with a sl st in ch-1.
Rnd 2: Ch 1, * sc in each of the next 2 sc’s, work 6 sc’s in next ch-4 space, rep from * around, join with a sl st in ch-1. Fasten off.
Note
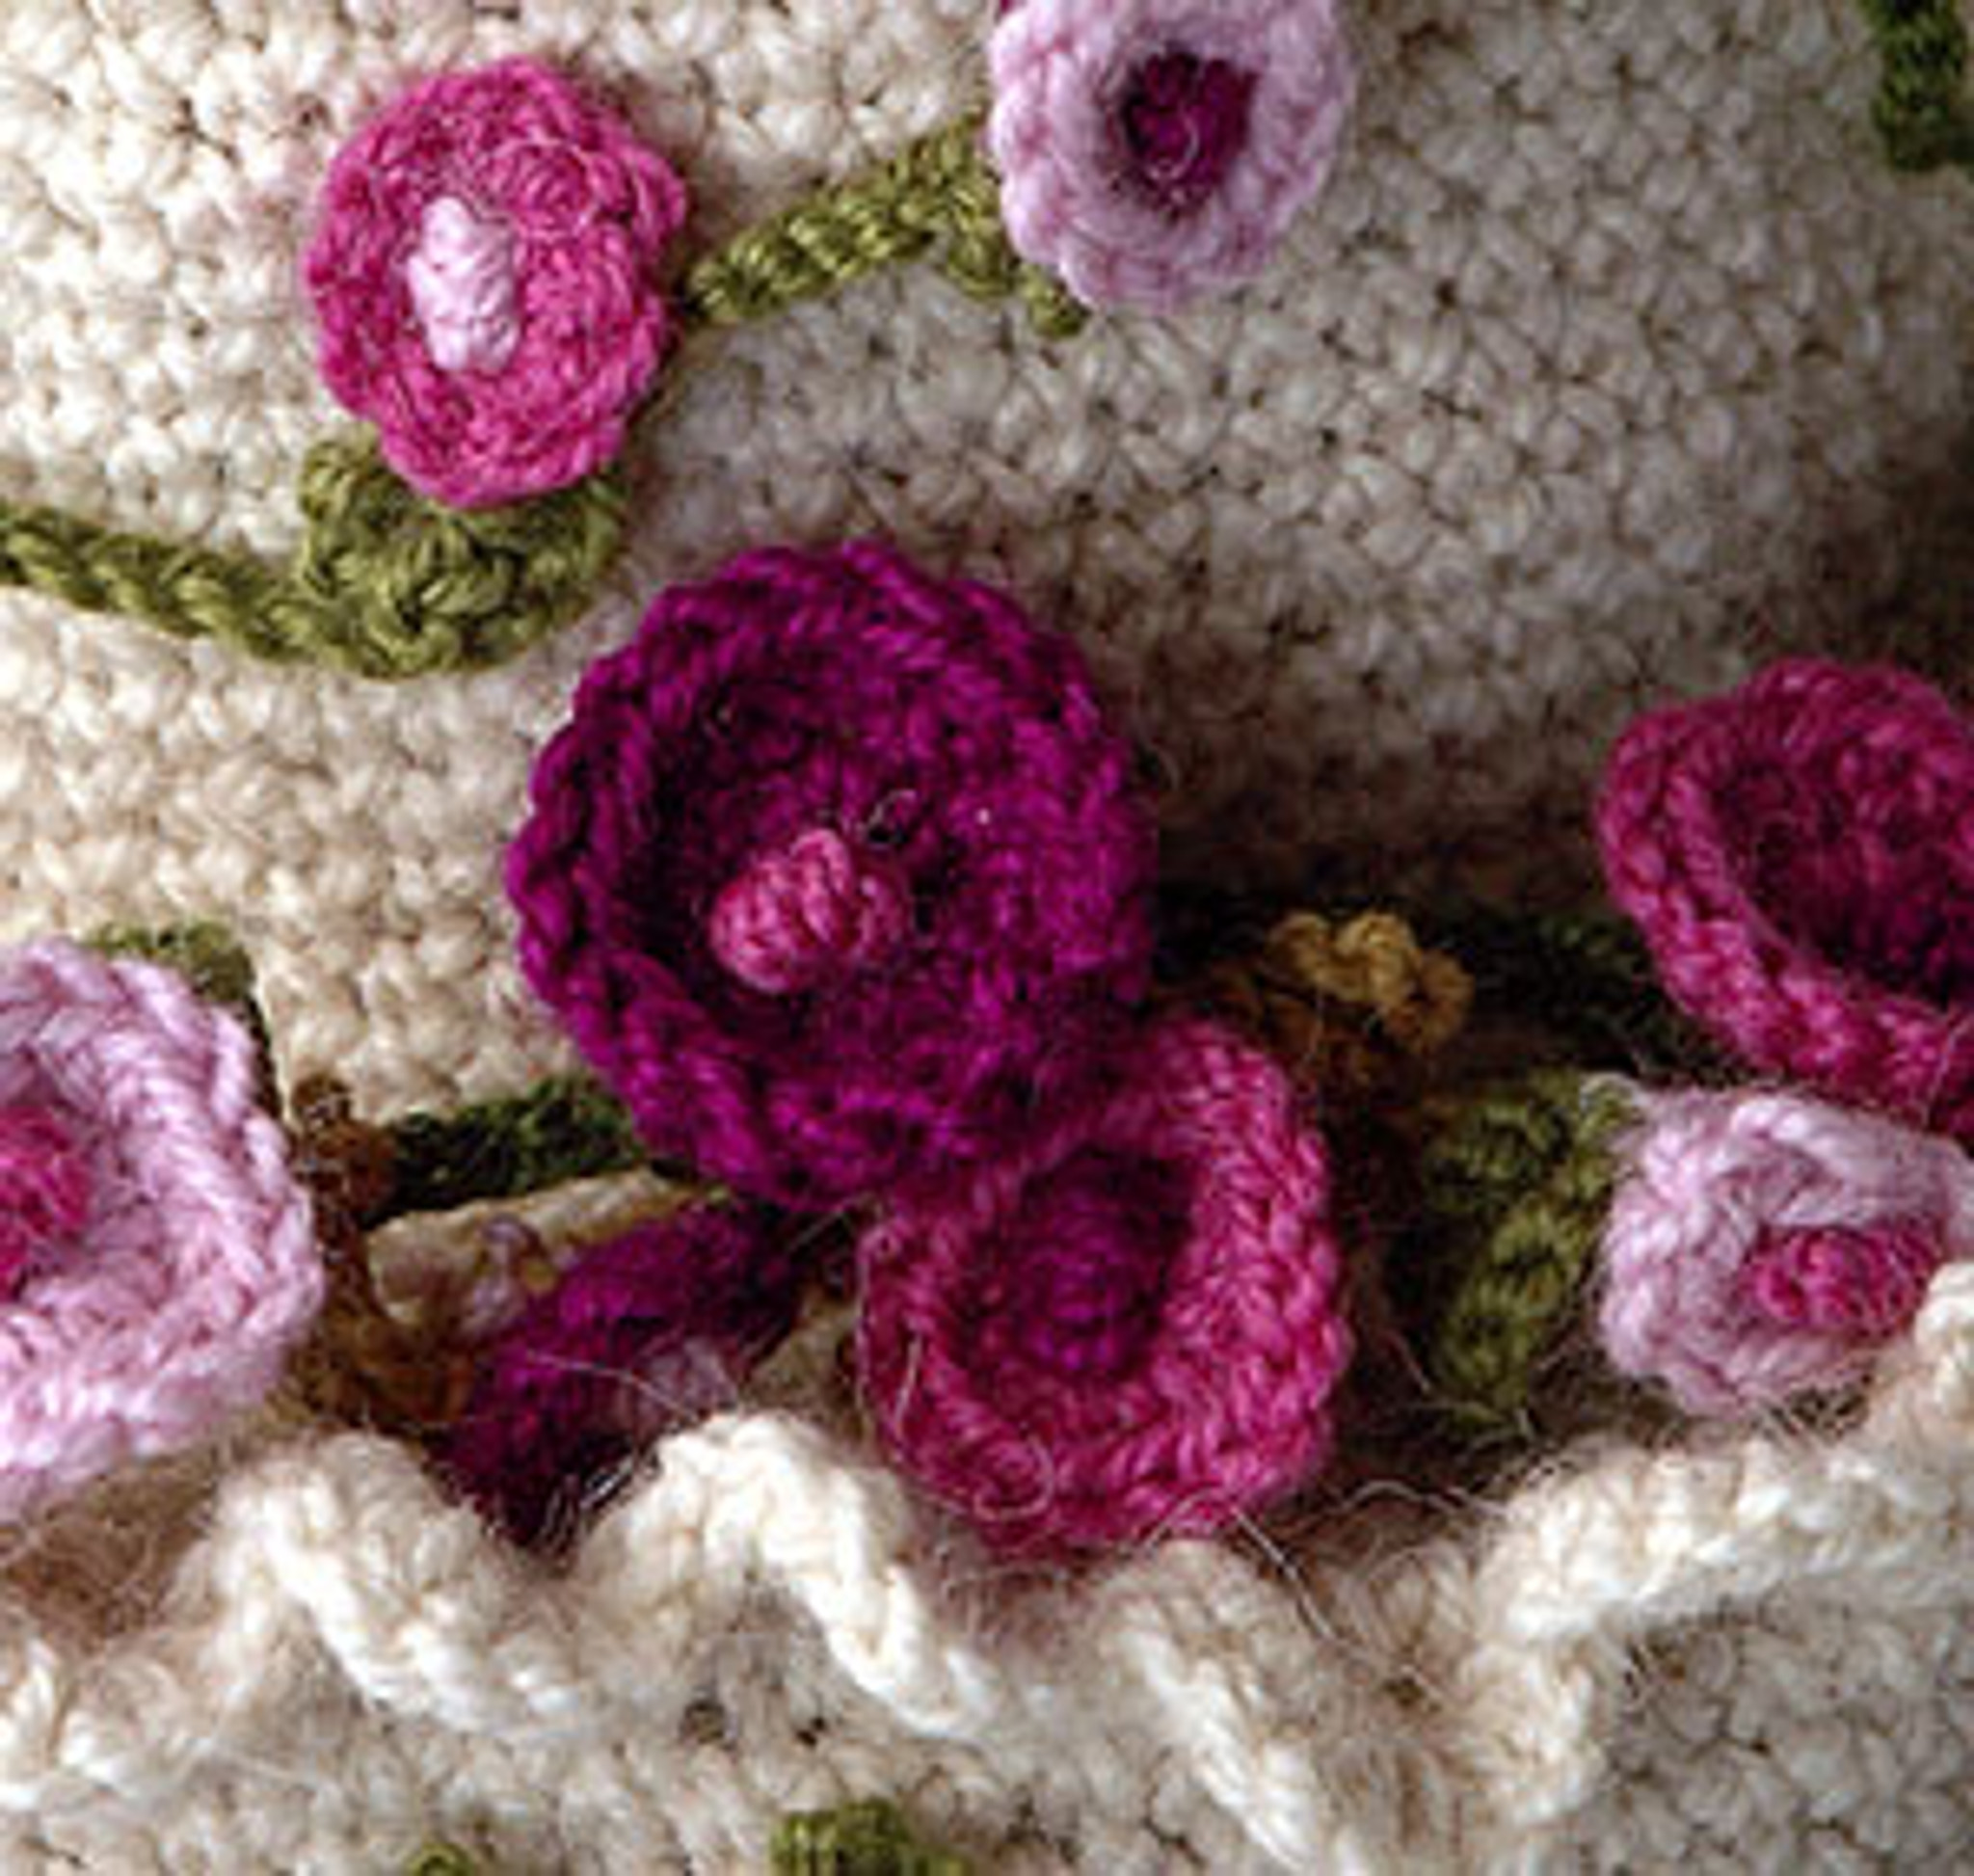
Vines are completely free form. Our designer made one vine 22” long, one 24” long and one 60” long. Have fun and play with them. Flowers are worked in 3 sizes varying colors as desired.
Vines: With smaller crochet hook, using A, ch for 6”. Add leaves where desired by simply chaining, then joining with a sl st to the main ch. When you have completed one section of vine, change to B and work the next section. There is really no exact pattern. Change colors wherever you choose and add leaves as you go along. Leaves can be worked singly or in pairs. There is no right or wrong.
Large Flower: With smaller crochet hook, using C, D or E, ch 4. Join with a sl st to form a ring.
Rnd 1: Ch 1, work 5 sc’s in ring, join with a sl st in ch-1.
Rnd 2: Ch 1, work 2 sc’s in each sc around, join with a sl st in ch-1 – 10 sc’s.
Rnd 3: Rep Rnd 2 – 20 sc’s. Fasten off. With tapestry needle and 2 strands of a different color, work a French knot in the center of flower.
Medium Flower: Work same as Large Flower until Rnd 2 has been completed – 10 sc’s. Fasten off. Work a French knot in center.
Small Flower: Work same as Large Flower until Rnd 1 has been completed – 5 sc’s. Fasten off. Work a French knot in center. Sew flowers to vines – our designer sewed hers wherever she had added a leaf or a pair of leaves.
Finishing
To make forms for layers, use pencil compass to draw 3 circles on posterboard – one 10 1/2” diameter, one 6 1/2” diameter and one 4 1/2” diameter. Cut out circles with sharp scissors. Cut straight strips of posterboard to fit around circles – 4 1/2” wide for the lower layer, 4” wide for the middle layer and 3” wide for the top layer. Form strips into tubes and tape ends together. Tape circles to tops of tubes. Insert forms into appropriate cake layers. Stack the layers on top of each other. Drape with vines and flowers as in photo. All pieces may be glued together with a hot glue gun or left unglued for easy disassembley and storage.
- Yarns Used:Berroco Ultra® Alpaca
- Designer:Margery Winter
- Skill Level:Intermediate
- Craft:Crochet
- Project Type:Other

Yarn Used

Berroco Ultra® Alpaca